System requirements
- RAM: Ensure your environment has at least 4GB of RAM. Insufficient memory may cause your Sourcebot deployment to be unstable.
- Docker & Docker Compose: Make sure both are installed and up-to-date.
- Node.js 18+: Required for the setup CLI
Option 1: Setup CLI
The setup CLI will guide you through deploying Sourcebot and connecting it to your code hosts and LLM providers. This will create a new directory and generate a configuration file and Docker Compose file for you. Run the following command to get started: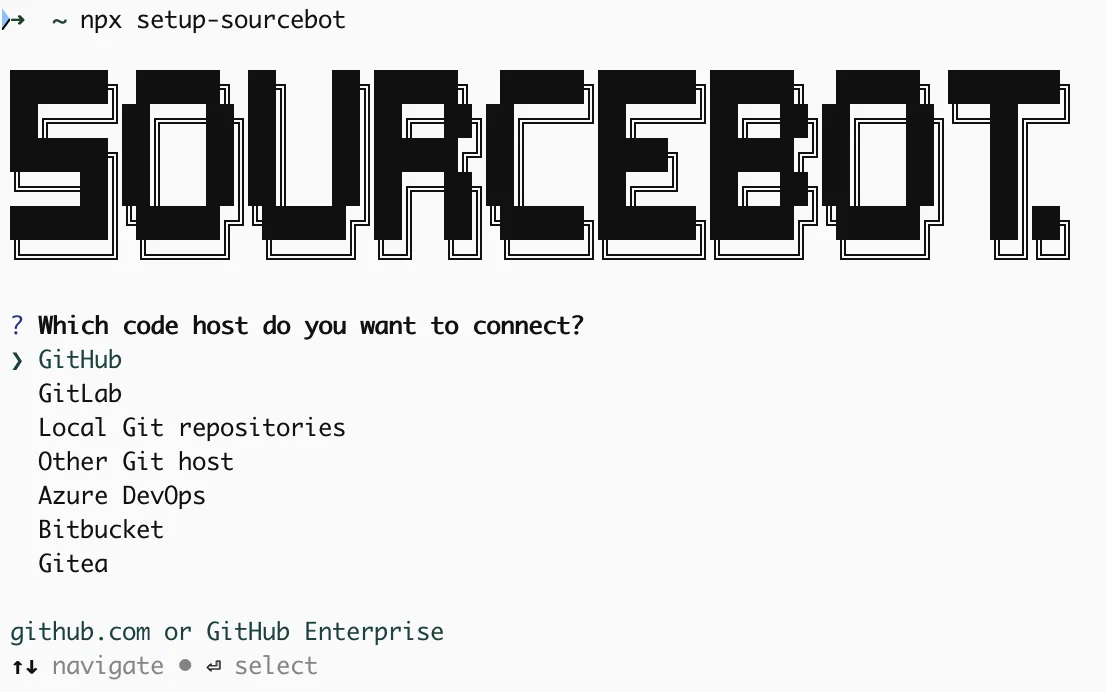
Option 2: Manual steps
Obtain the Docker Compose file
Download the docker-compose.yml file from the Sourcebot repository.Create a config.json
In the same directory as thedocker-compose.yml file, create a configuration file. The configuration file is a JSON file that configures Sourcebot’s behaviour, including which repos to index, what language models to use, and more.
Create example config
Launch your instance
Update the secrets in thedocker-compose.yml and then run Sourcebot using:
Next steps
Congrats, you’ve deployed Sourcebot! Check out the following guides to learn more.Configuration
Index your code
Connect Sourcebot to your code hosts and configure which repos to index.
Language model providers
Configure the LLM providers that power Ask Sourcebot.
Authentication
Set up SSO and configure how users sign in to your instance.
Sizing guide
Right-size your deployment based on the number of repos you’re indexing.
Features
Code search
Search and navigate across all your repos and branches.
Ask Sourcebot
Ask questions across all your repos and branches.
MCP
Code context layer for all your agents.